


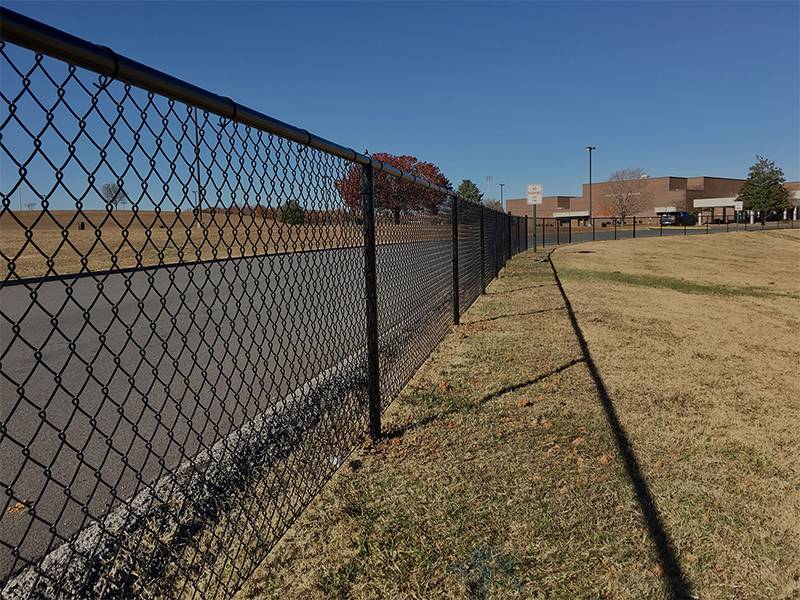
Chain link fence installation guide
How to install chain link fence and also assure it good performance in various environments may trouble some people. Walcoom offers this installation guidance for every purchasers when installing.
Before starting, usually begin with the following points:
- First, obtain necessary zoning and building permissions. The local zoning and deed restrictions probably pertaining to the height and width of chain link fence installation.
- Second, establish where your property line are located. The location of fence lines, gates and terminal posts with suitable stakes. Stake intervals shall not exceed 500 ft (152.5 m) or line of sight.
- Third, find out where your utility lines are.
- Forth, call the local or state utilities protection service to locate potential buried utilities.
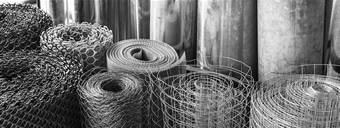
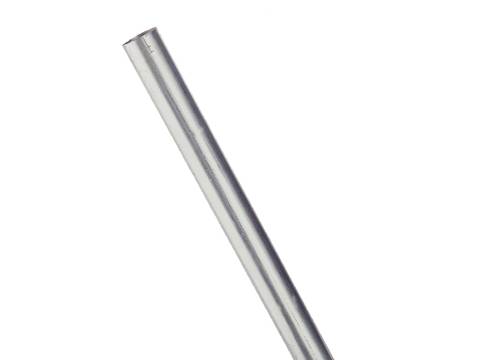
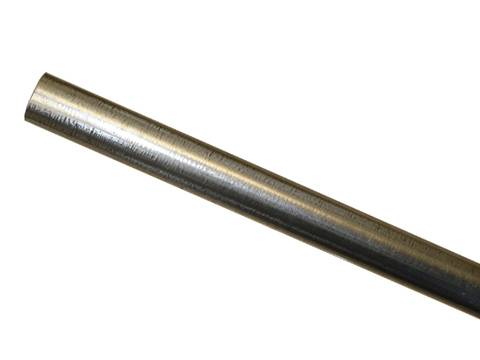
The materials needed for chain link fence installation
(All these accessories bellow are sold on Walcoom, you can purchase from Chain Link Accessories homepage)
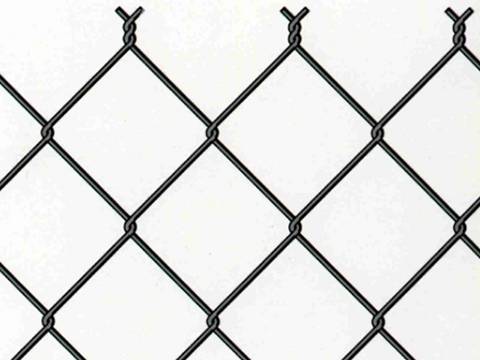
Fence fabric shall be based on your property actual needs.
Fasten top rail to the terminal posts and combine with sleeves to allow for expansion & contraction.
Space line post equidistant at intervals less than 10 ft. Fence and in the line of fence from center to center of the post.
Terminal post (end, corner, gate). Two terminal posts for each gate.
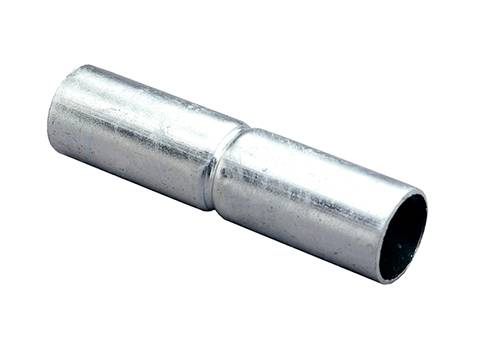
Top rail sleeve is used for connecting two top rails. Not required for swedged top rail.
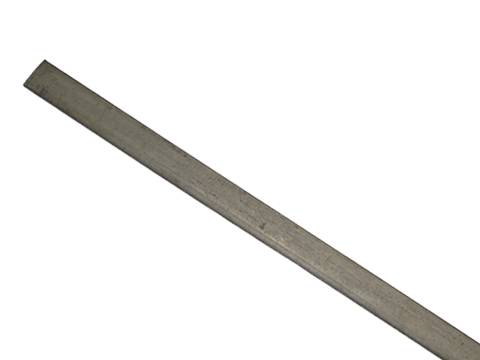
A tension bar for each end of gate post, two tension bars for corner post.
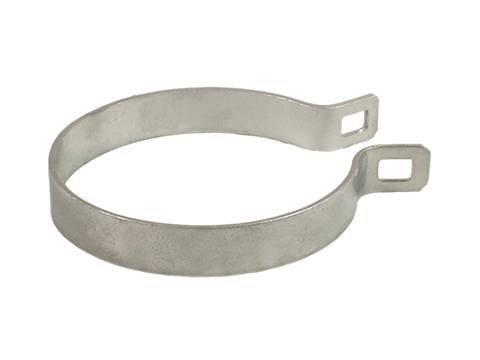
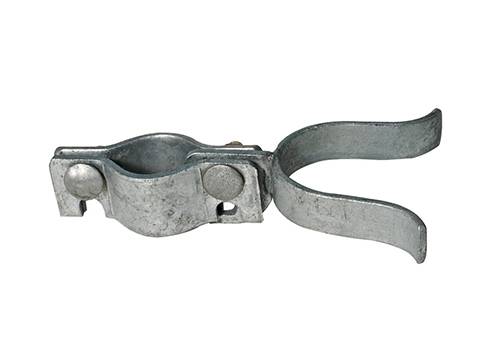
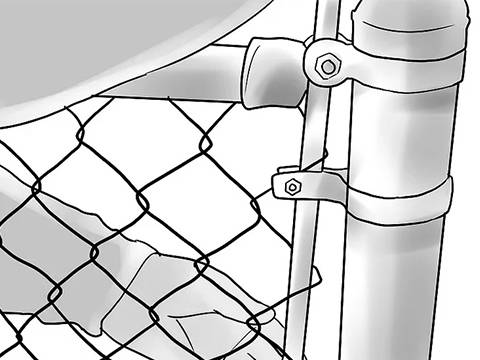
Brace band is used to fasten tension bar to gate or terminal posts.
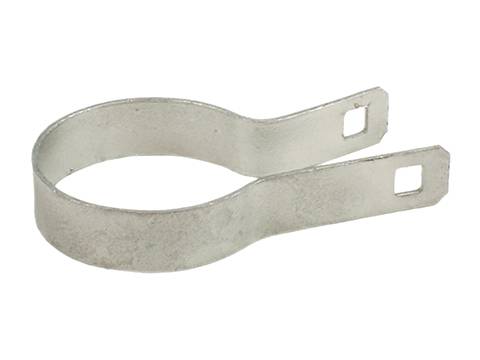
Tension band is to fasten tension bar to gate post or terminal post.
Rail end is designed to attach top rail to terminal post.

Carriage bolts join with brace band to connect posts (line posts & terminal posts).
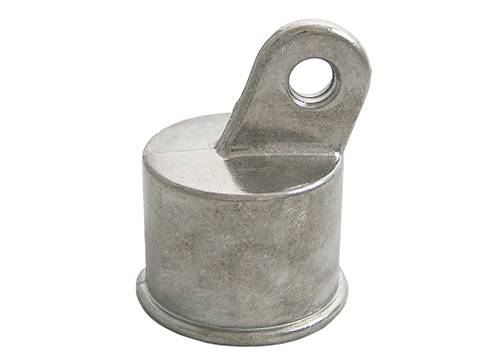
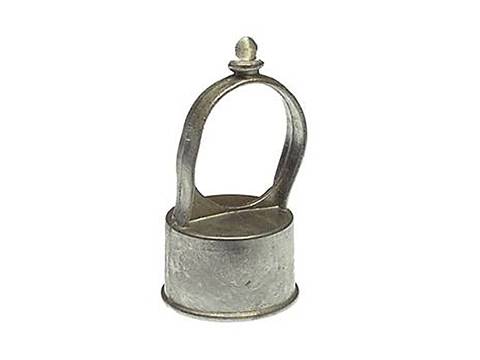
Post cap covers on terminal post to prevent rain from immersing.
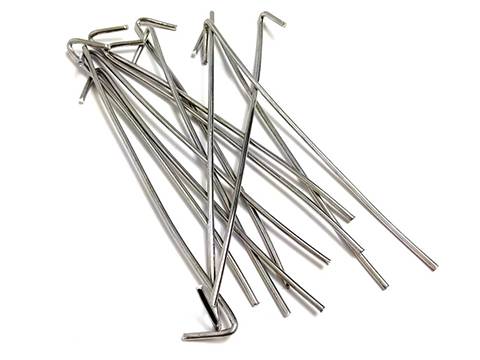
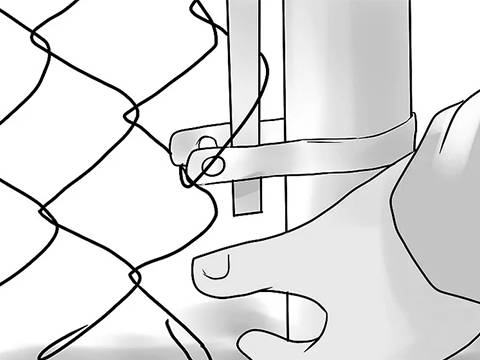
A tie for every 12" line posts, and a tie every 24" of top rail.
Fork latch is used in chain link fence gate installation.
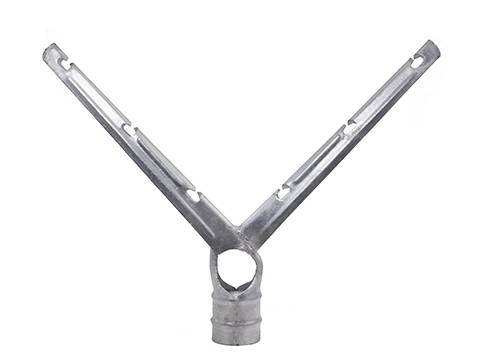
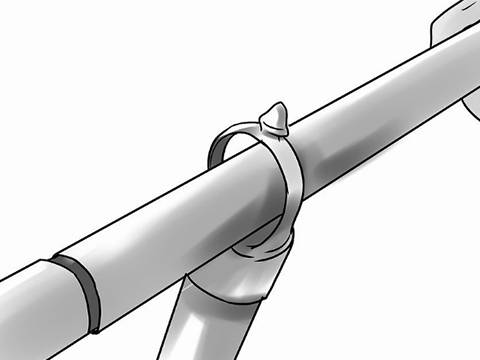
Barb wire arm shall be at the top of fence to attach barbed wire or razor wire.
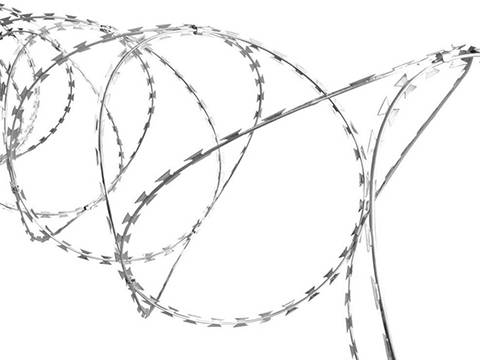
Razor wire supported by bard wire arm at the top of fence
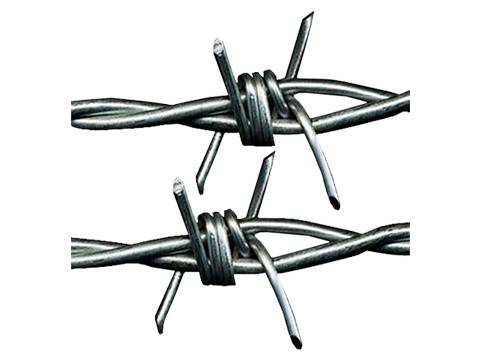
Barbed wire shall be fastened at the top of fence by using barb wire arm.
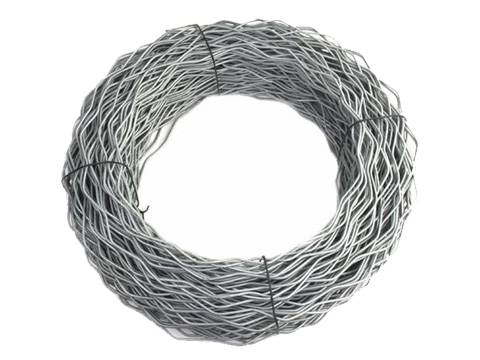
Tension wire is usually sold a roll of tension wire. It is used the bottom of fence.
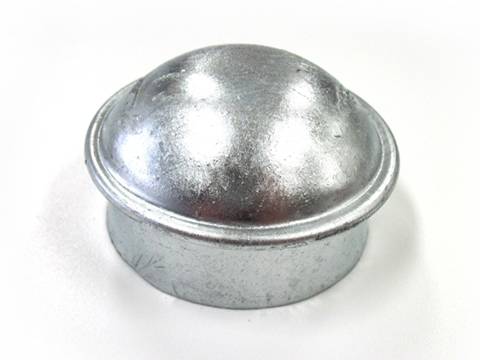
Line post cap covers on the top of line posts, the quantity based on actual need.
How to install chain link fence and guarantee its great performance, you can follow these steps:
Step 1
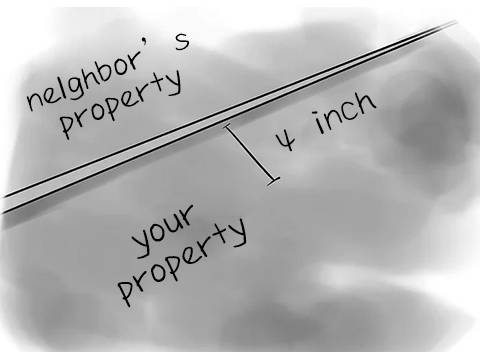
Make sure the property line does not exceed neighbor's property.
- Measure all post shall be set approximately 4" inside the property line in order to prevent with concrete footings from encroaching your neighbor's property.
- Space line posts equidistant at intervals not exceeding 10 ft
Measure your property
Step 2
Measure the total length of your planed fence.
This determines how many of chain link fence and the number of accessories you may need.
Measure the fence location line
Step 3
Determine the terminal posts location.
- Determine terminal posts (for example end, corner and gate) at the beginning of the end of length of fence and at abrupt changes in vertical and horizontal alignments.
- When you determine posts location, you should mark the exact spot with a stake or spray paint.
- Then, drill the marked spot before locate posts.
Mark line post installation location
Step 4
Set posts (end, corner and gate) in a vertical position, plumb in line.
- Backfill the holes with 4" gravel or fill concrete into the excavation and extend 2" above grade.
- Under the normal conditions, the diameter of holes shall be four times the largest cross section of the post up to 4" and three times for outside diameter. The depth shall be a minimum of 24".
- When mount in concrete or hard rock ground, the depth of holes shall be ½ inches, greater than the largest cross section of the post.
- The use of mechanical devices for the setting of fence is acceptable.
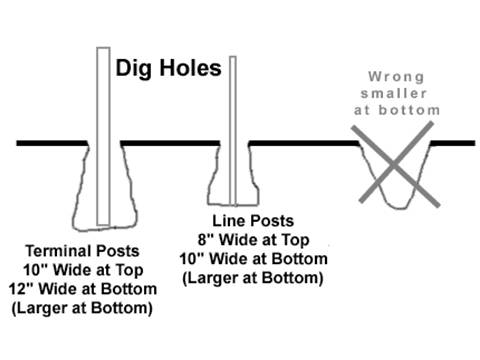
Warning for install terminal posts
Step 5
Mark and install line post.
- Run a straight and taut line between the terminal posts, then mark the line posts location on the outside face to the terminal posts.
- Dip line post holes and fill with sand or concrete as well as the way of set terminal posts.

Mark line post location
Step 6
Apply bands and post caps to the posts.
- After put posts to its holes and concrete have hardened, use one tension band less than the height of fence. For example, use 3 tension bands for each post if the fence is 4 ft high.
- For a 6 ft fence should use 5 tension bands. The tension bands should face toward the outside of the fence.
- Put post caps at the top of each line posts.
- Attach two brace bands to terminal posts (for example gate and corner).
- Brace to terminal post and adjacent line post or its footing shall be less than 50° angle between brace and the ground.
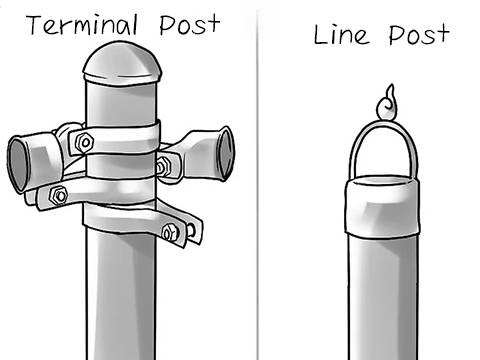
Terminal post hold tension brace bands and tension bands, line post only for line post cap
Step 7
Install top rail.
Feed top rail through the holes of loose caps, in this procedure, you can connect two top rail in a straight line by using a top rail sleeve.
Top rail pass through line post cap
Step 8
Insert rail ends to terminal post.
- Using carriage bolts and nuts to tight brace band and rail end together.
- You need to adjust the height of brace band to meet the height of the chain link mesh, plus 2" clearance at the bottom.
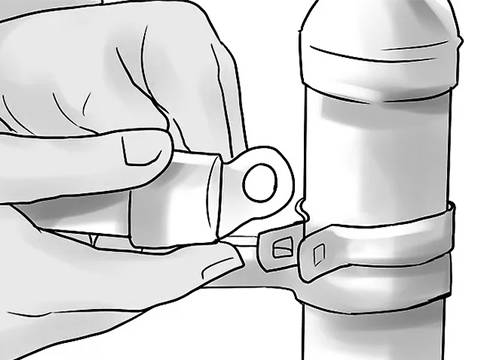
Insert rail end
Step 9
Hang chain link fabric.
- Unroll chain link fabric on the ground along the fence line. Then slide a tension bar vertically through the beginning ends of fence fabric.
- Cut the fabric by untwisting picket and attach each span at all terminal posts. Install fence fabric at grade to a maximum of 3"clearance above grade, or reduce the space greater than 3" by installing tension wire or bottom rail. Last, fasten chain link fabric to rail or tension wire not exceed 24".

Unfold chain link fabric
Step 10
Fasten chain link fabric to terminal posts.
- Put the tension bar through the holes of tension bands, then tight up carriage bolt.
- The fence fabric should overlap the rail by 1 to 2 inches and be 2 inches off the ground. In this procedure, you need someone to stand up the fence fabric and tight up carriage bolt.
Fasten chain link fabric
Step 11
Attach chain link fabric to top rails.
- Using ties to tie up fence on rails but should leave enough length from roll to span the opening between terminal posts.
- Based on the actual need, you can join two sections by corkscrewing the loose strand through the end links if the fence fabric is not long enough. On the contrary, you can remove excess part by using pliers to untwist the top the bottom loops on one strand of wire.

Untwist chain link fence fabric
Step 12
Stretch chain link fence.
- Stretch chain link fence taut with a fence puller so that the fence does not sag.
- Stretch the fence fabric until the fence loops less than a quarter-inch.

Stretch chain link fence
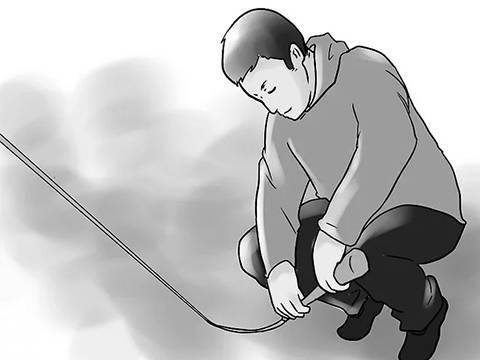
Step 13
Add a second tension bar.
Run the second tension bar at the end of the mesh next to fence puller. This will allow the stretched mesh to be attached to the tension bar.
Add tension bar
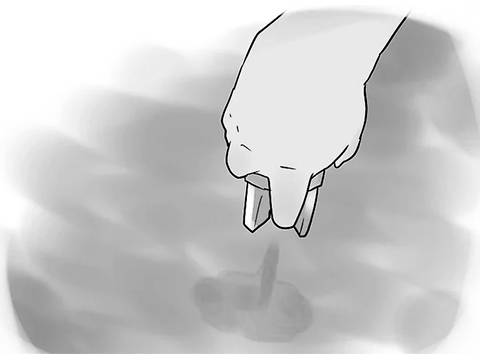
Step 14
Complete fence with a tension bar.
The end of chain link fabric with a tension bar on the far end posts' tension band. Remove exceed mesh.

Tighten tension bar
Step 15
Tie fence fabric to line posts.
- Tie your fabric to line posts with aluminum ties.
- Put ties 24" apart along the top rial and 12" apart on every line post.

Fasten chain link fence by using aluminum wires
Step 16
Add tension wire at the bottom of fence.
Make tension wire through the bottom mesh loops, tight wire and wrap it around itself near the posts.
Add tension wire at the bottom of chain link fence
Step 17
Add razor wire or barbed wire (optional)
- Add razor wire or barbed wire is optional solution for buyers. Chain link fence with razor wire at the top is usually set in suburb or on the border line. Certainly it is also apply to residential area if buyer required.
- Barb wire arm replace post cap covering on line posts, put barbed wire through wire arm's hole.
- Install concertina razor wire, shall be tread three layers of wire through arm's loop. Fast concertina razor wire to the wires which fixed on barb wire arm before.
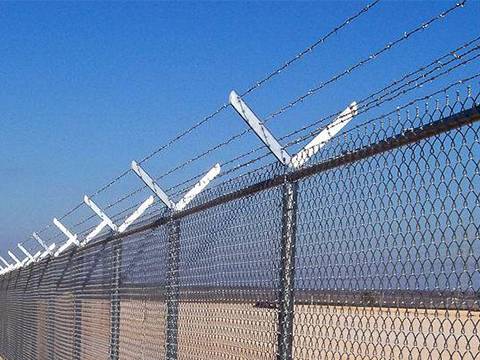
Add barbed wire by using bard wire arm

